1 min. read
Building a Ceramic Inground Pool: Step by Step
Follow each step of building a Compass luxury ceramic pool. This is a photo report of constructing an inground Java swimming pool equipped with a sliding above-ground roofing system.
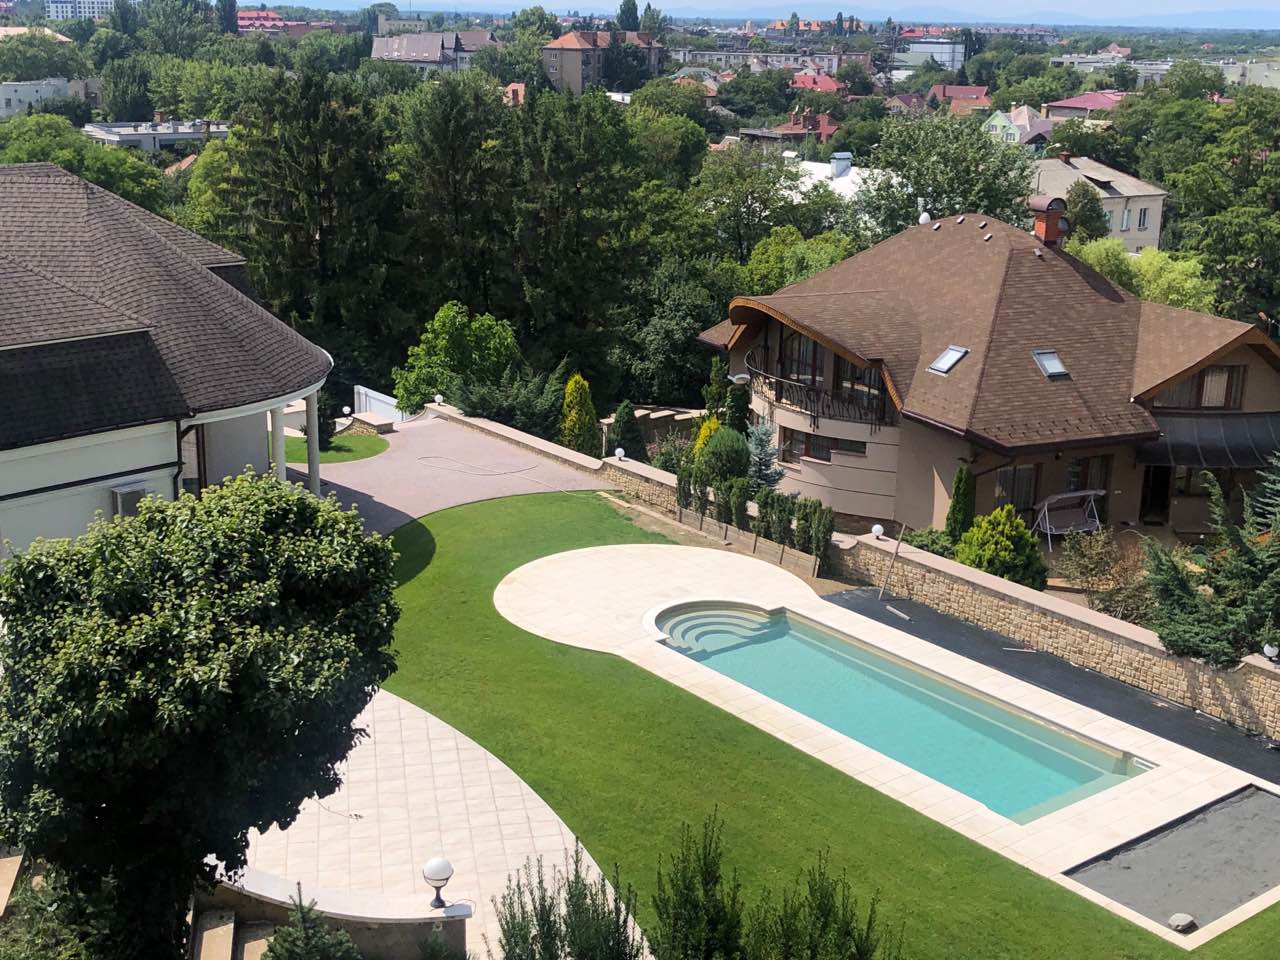
XL-JAVA 114 Golden Pebble
TYPES OF INSTALLATIONS
Sloped Bottom
Pools with a sloped bottom are installed on a gravel bed, placed both under and around the pool. The pool subsoil is made of washed river gravel (round pebbles) of 8–16 mm size.
Flat bottom
Pools with a flat bottom can be installed on a concrete base plate. Once settled, the sides are filled with moistened concrete.
Java pool in Smokey Quartz with a sliding roof system
STEP BY STEP INSTALLATION
Step 1: Swimming Pool Construction Plans
Every customer receives detailed construction and installation plans of JAVA pool from the Compass Pool dealer. These documents are handed over to the building company and include everything necessary for the project.
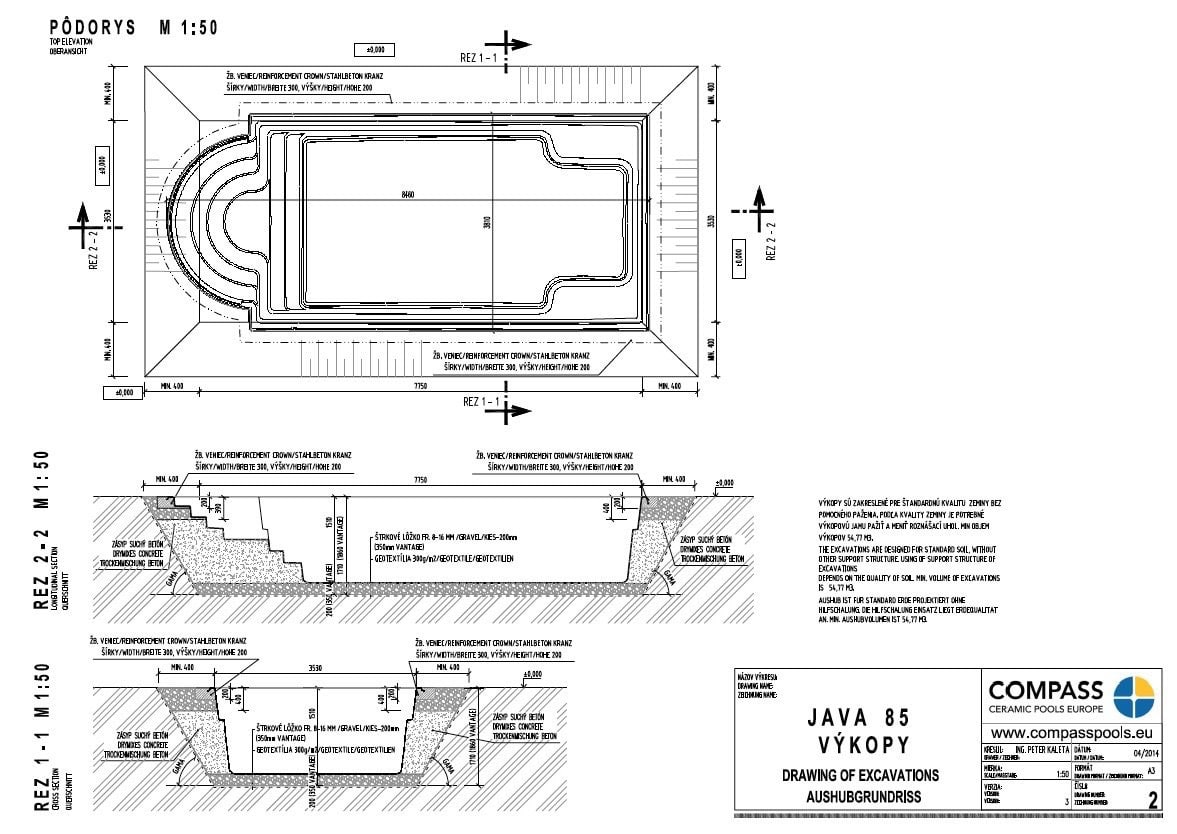
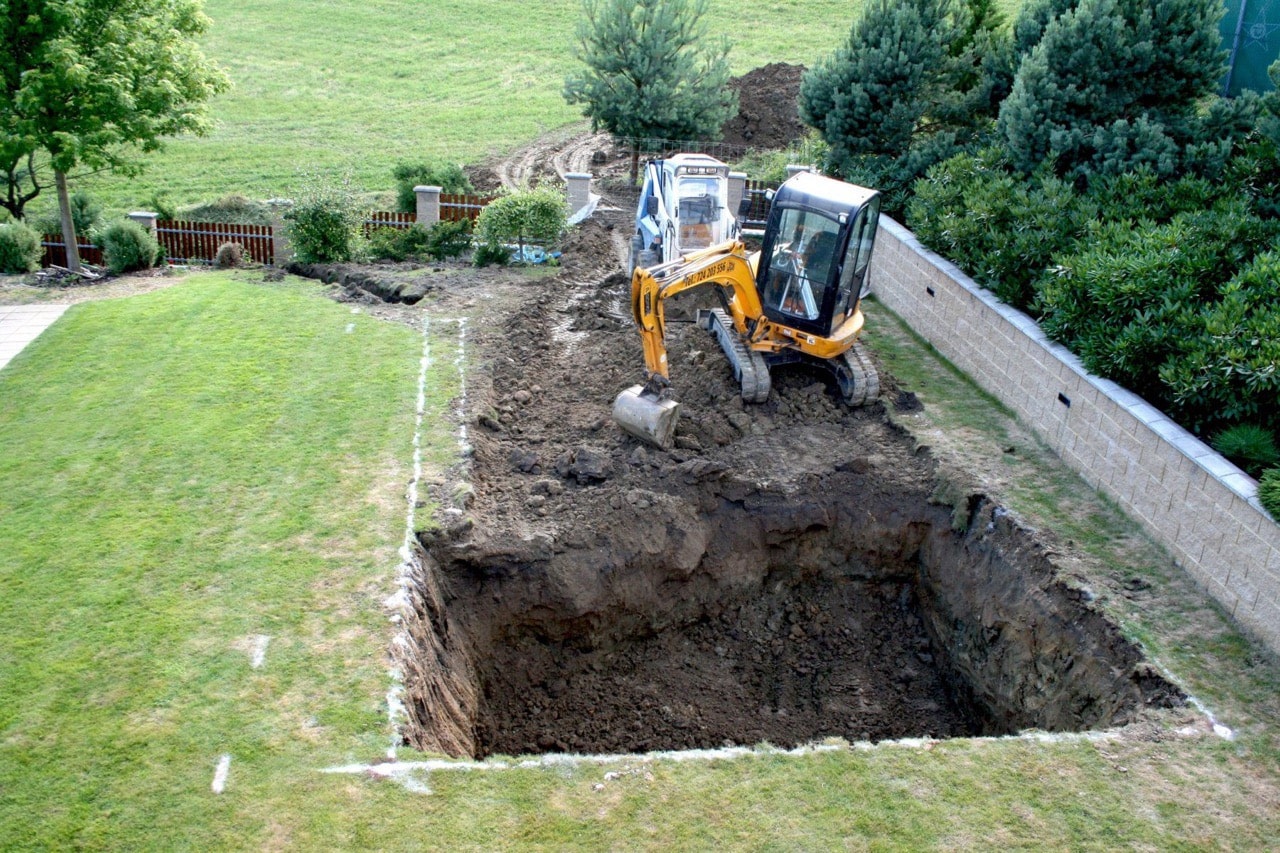
Step 2: Excavation Work
The pool site is surveyed and marked, after which the excavation begins. Using an excavator, the hole is dug according to the provided plans. Depending on the pool size and soil type, this step usually takes one to two days.
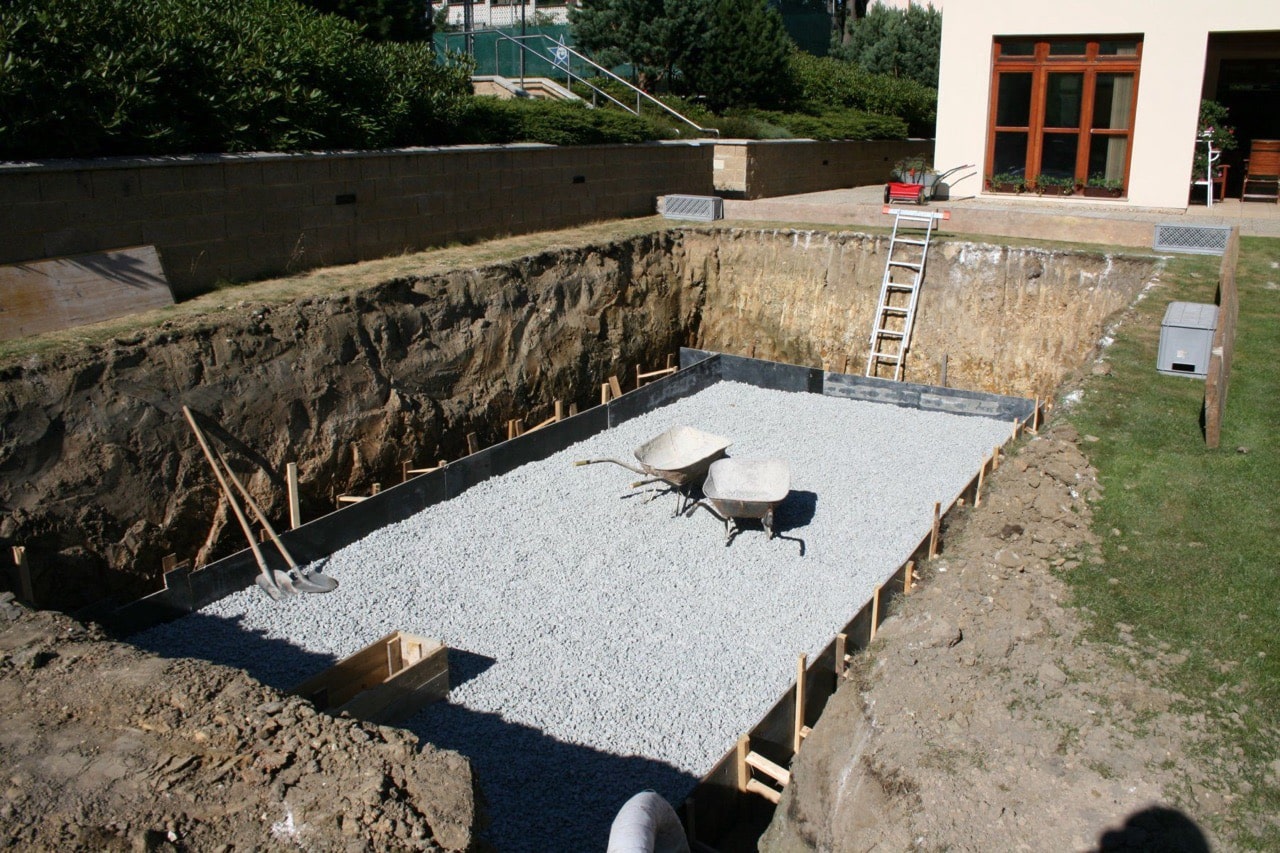
Step 3: Preparation of the Pool Subsoil
The bottom of the excavation is covered with a geotextile layer and then filled with washed round gravel. This gravel bed is rammed to create a stable, draining foundation. In some cases, a concrete base plate may be prepared, but thanks to the strength of Compass ceramic pools, a gravel bed is usually sufficient.
Step 4: Pool Transportation and Placing
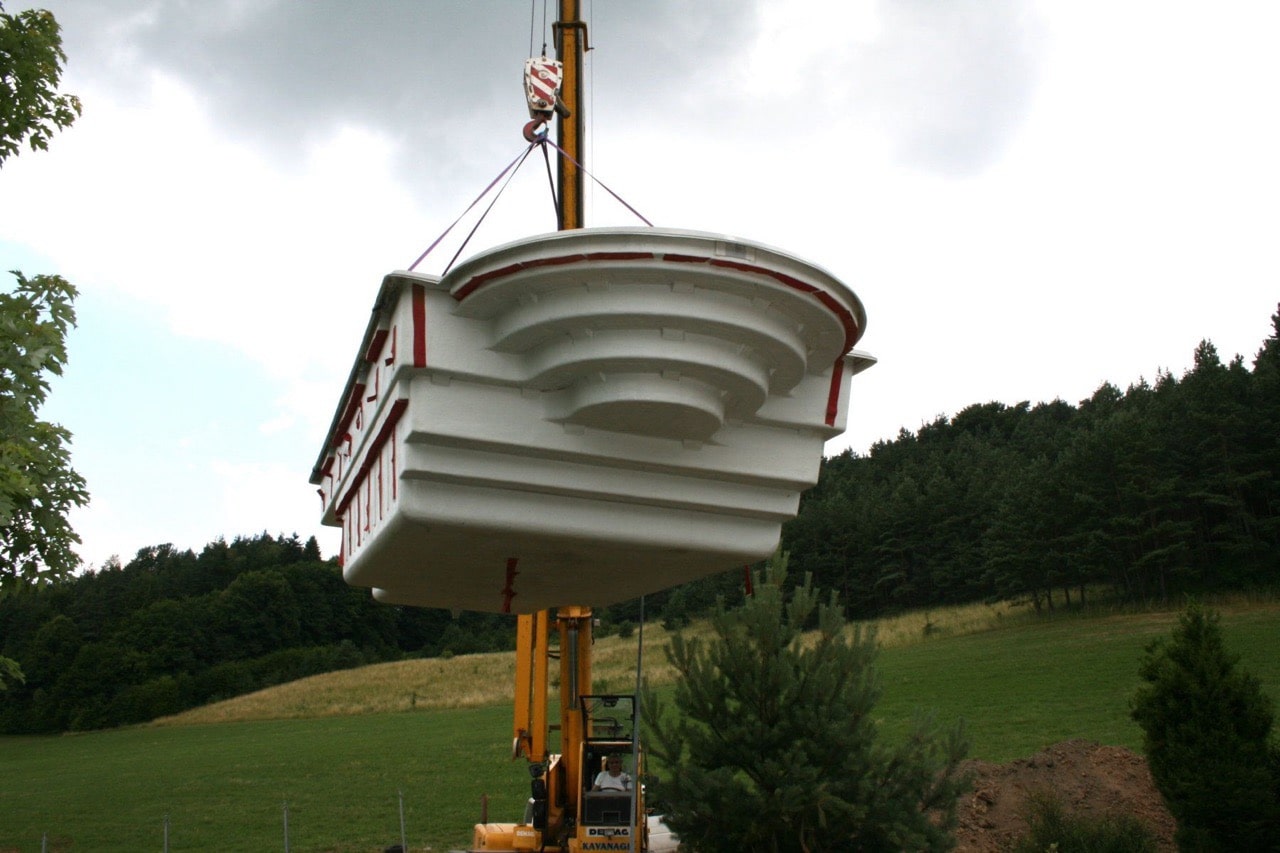
The ceramic pool shell is carefully transported to the site and lowered onto the prepared base. Precision is key here, the pool must be perfectly level to ensure long-term stability and proper water flow.
Step 5: Technology Installation and Backfilling
Once the skimmer, inlet nozzles, lights, hoses and pipes are fitted, the pool is gradually backfilled around by dry concrete mixture or gravel. At the same time pool is filled by water to balance the pressure exerted on the walls.
The space under the stairs is always filled with dry concrete.

Step 6: Technology Installation in the Shaft
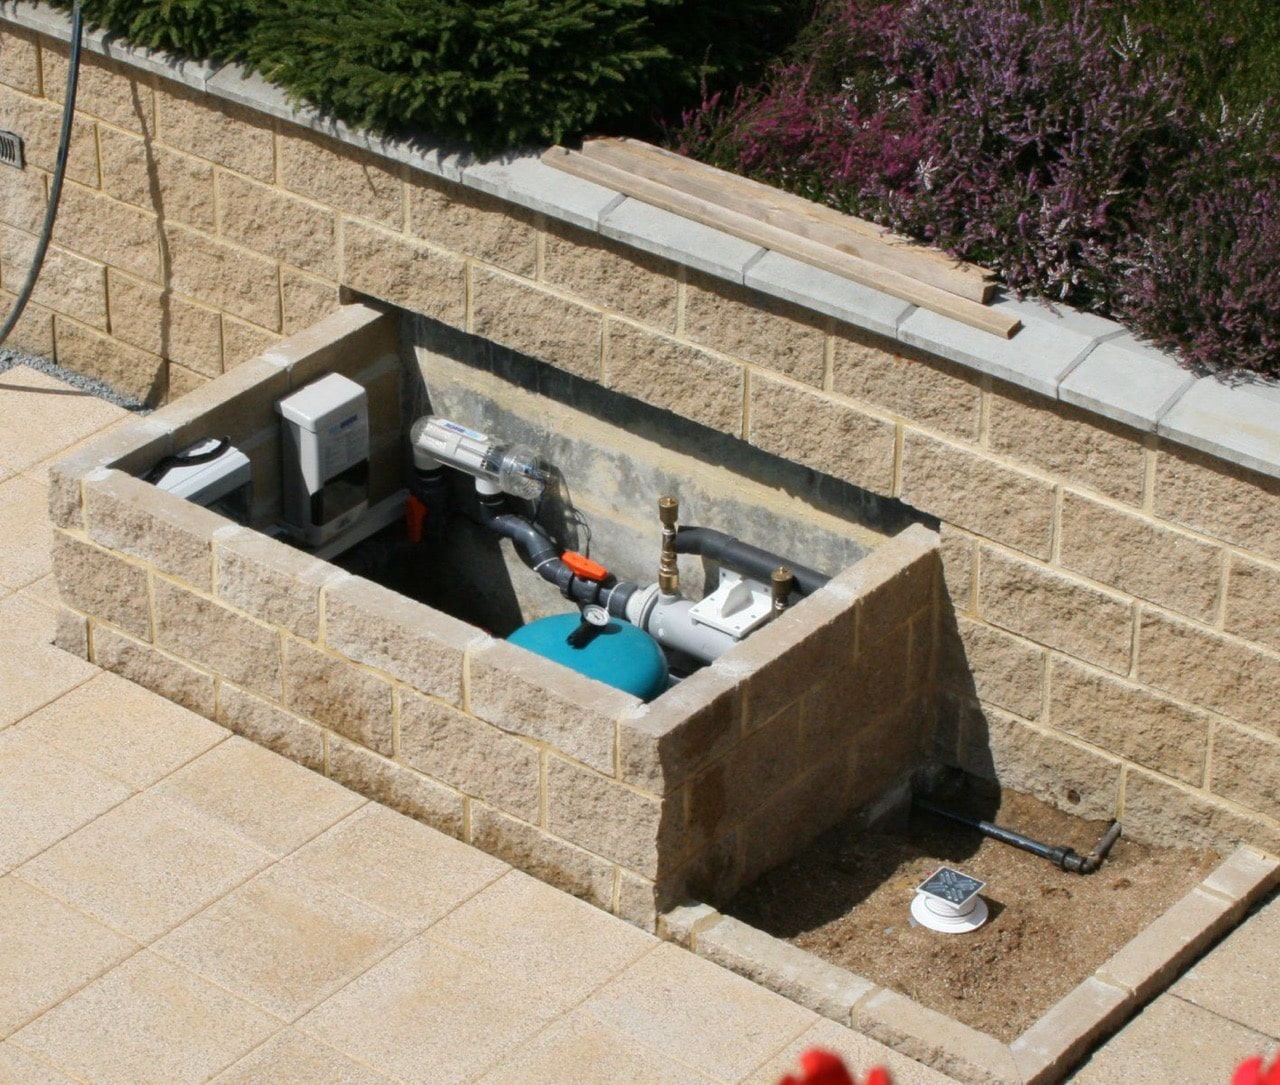
Once the pool is stable, the remaining pool technology: pumps, filters, and controls is installed. This can be placed inside a dedicated pool shaft, garage, basement, or even a garden shed, depending on the customer’s setup.
Step 7: Pool Roofing Preparation
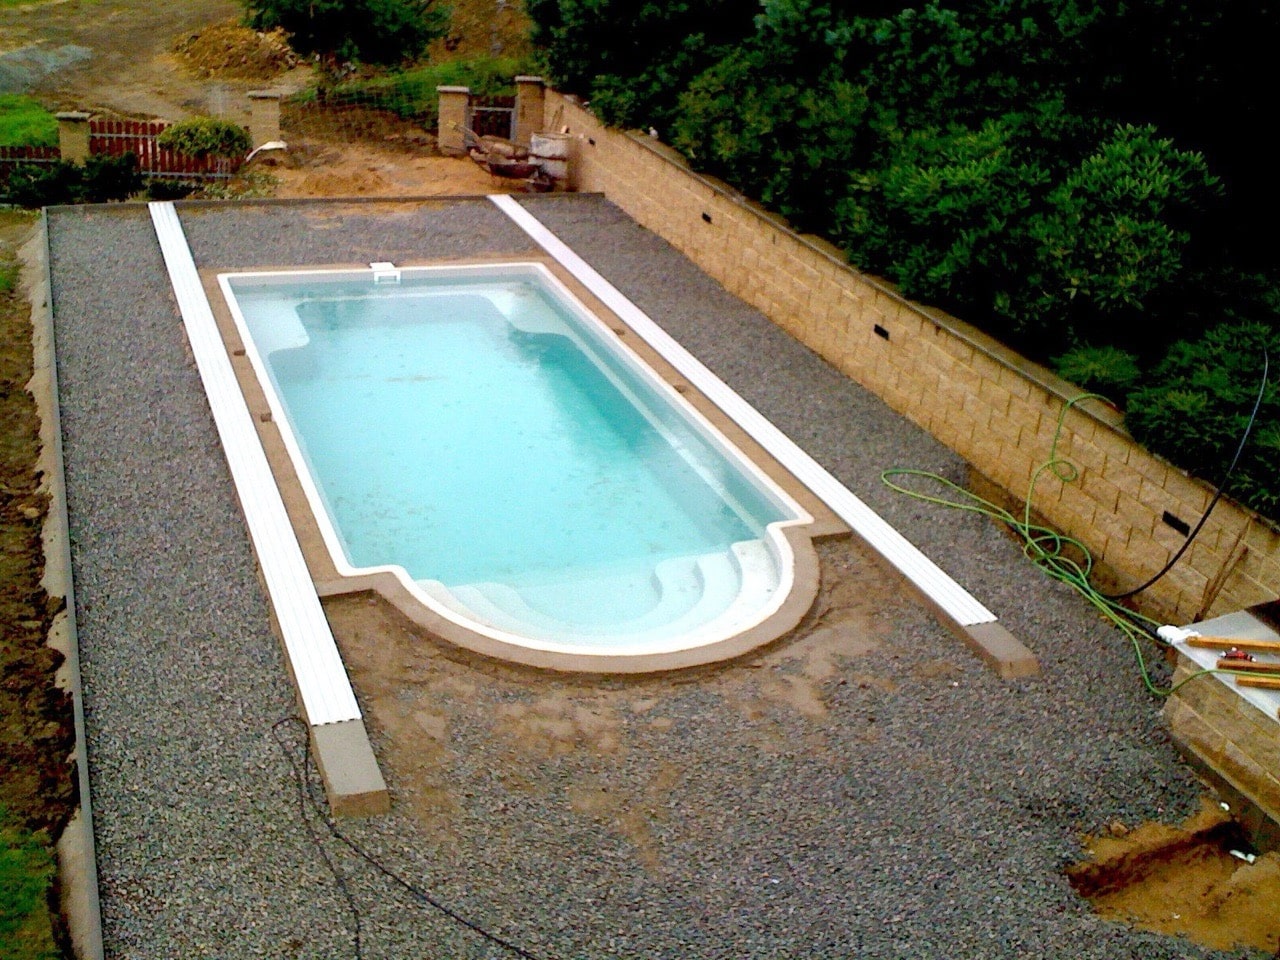
If the pool will have sliding roofing, the rails are mounted onto the concrete pool ring. When roofing is designed to be level with the paving, the rails are set before tiling. Otherwise, installation follows after tiles are laid.
Step 8: Tiling Around the Pool
Next comes tiling the pool surroundings, which gives the pool its final appearance. Non-slip tiles are recommended for safety and comfort. The tiles are laid with consistent spacing and precise alignment, creating a durable, weather-resistant, and visually appealing edge around the Java pool.

Step 9: Roofing Installation
The sliding pool roofing is installed to protect the swimming pool from dirt, weather, and temperature fluctuations. Proper alignment and sealing are crucial to ensure smooth operation and long-term durability. The roofing system not only improves safety and energy efficiency but also allows the pool to be used for a longer season.

Step 10: It’s Done ... Time to Swim
With all steps completed, the ceramic inground pool is ready to enjoy. The Java model with its sliding roof offers elegance, safety, and long-lasting durability a true centerpiece of any garden.
